
FalsMount clamps onto your standing-seam roof — no drilling, no roof penetration, no sealant. Install: One person, hand tools, ~30 min.
Before you order (or at least before you install), use the Starlink app's built-in obstruction check at the spot on your roof where you plan to mount the dish. It'll tell you whether that location has a clear view of the sky — worth doing early, since a spot with too many obstructions won't work well no matter how it's mounted.
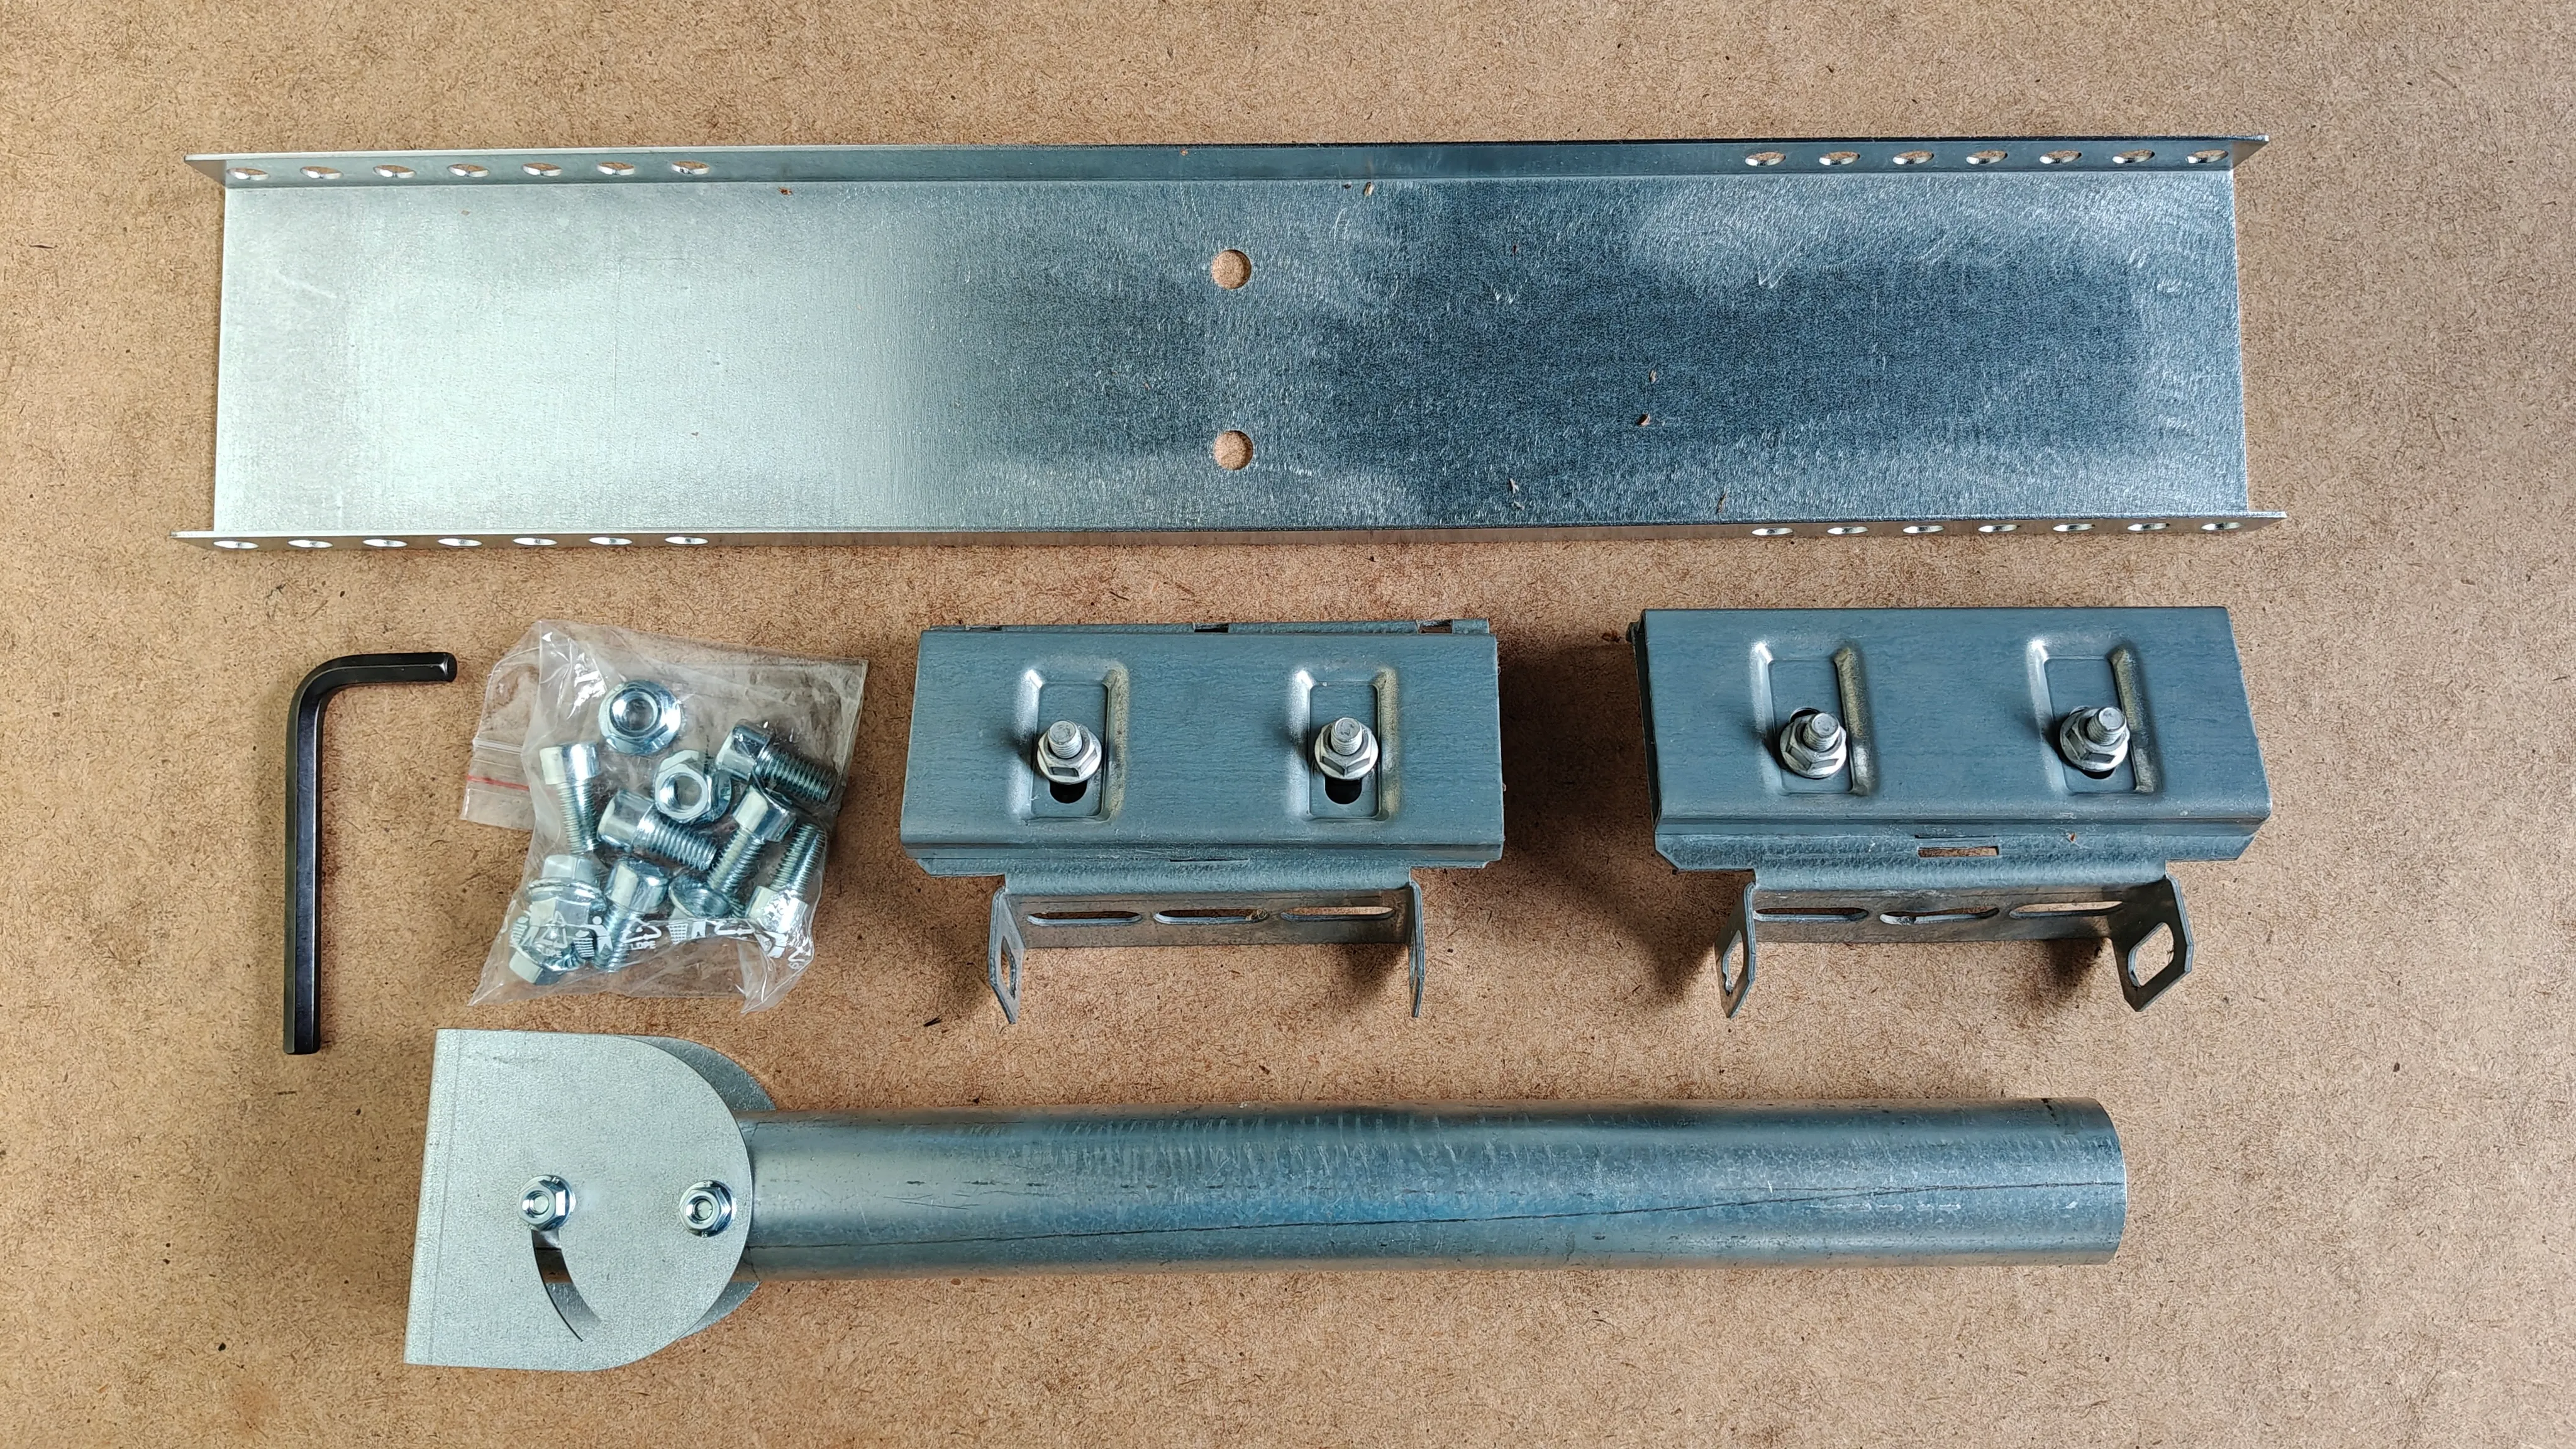
A socket wrench is the most comfortable option, but a regular open-end or adjustable wrench works fine too.
Measure the spacing between the standing seams where you plan to mount FalsMount (the "seam step"). You'll need this for pre-assembly.
For a seam step narrower than 270 mm, you don't need a different kit: FalsMount doesn't have to clamp onto two adjacent seams. It can span across an intervening seam and attach to the one after that, which effectively doubles your spacing options.
Standing-seam profiles aren't symmetrical — one side of the seam has a lip the clamp's jaw hooks under, the other doesn't. Before you commit to a position, dry-fit one clamp onto a seam (any accessible section) to see which way it needs to face to grip properly.
Do this before you go up on the roof:
Using a spirit level, adjust the pole until it's vertical, then tighten both pole bolts. You don't need to work out a tilt angle yourself — Starlink dishes aim themselves within their own mounting cone, so a vertical pole is all the mount needs to provide.
Before you attach the adapter, feed the dish cable up through the inside of the pole — it's hollow, and pulling the cable through now is much easier than trying to fish it through afterward. Feed it in at the base and pull it out at the top, then plug it into the dish once it's mounted.
FalsMount's pole fits the Starlink pipe adapter for Mini, Standard, Performance. The adapter comes in the Mini kit; for Standard and Performance it is sold separately in the Starlink shop. Attach the adapter to the top of the pole following Starlink's instructions, then mount the dish and connect the cable.
Secure the cable where it exits the pole at the base and leave a small drip loop before it enters your building, so water can't run down the cable into the entry point.
Power up the dish. Once it's found a connection, open the Starlink app and follow its instructions — it will tell you which way to rotate the mount adapter on the pole to get the best signal.
Working on a roof is risky. You are responsible for your own safety and for following any regulations that apply where you live. If you're at all unsure, get a professional installer or roofer to do this for you.
Seam step is the distance between two seam folds. Measure yours, then pick Standard (270–550 mm) or XL (551–600 mm). The mount can skip a seam, so a longer plate can still suit a narrower step.